Image

What you missed

Or should I say what I missed.

I’ve been gone over a year and a lot has happened in that time! Where do I start?

Chronologically I suppose. So I started my own business. Quit my job to focus on my business. Got new flooring throughout the house.

Went to universal (again, see my first trip here).

We lost one of our fur babies, The Little made it to the ripe old age of 18.

We then got a new addition to the family, another little black terror named Sabbath. He was only 8weeks old in this picture and already about the size of Little when she was fully grown

I got a new job (still in the beauty industry). Hurricane Irma ran off with our roof so that got replaced. I closed up shop on my business after a year (no one ever tells you working from home means there’s no such thing as time off). Oh and I chopped off all my hair and decided to dye it funky colors… cause when you turn 30 you stop caring what people think

And in between all that I managed to repaint or redo my office, the library, the dining room, and the master bath! So I haven’t really been idol I’ve just neglected posting anything about it. So let’s see if I can get this started back up!!!

Image

Another blue bathroom

After a long absence our cats are always very happy to see us so this weeks post will be featuring a lot of this guy 


We just got a new couch for our library he has adopted it as his own. The library is getting a minor makeover with the addition of some decor from our universal trip along with this new couch. I’ll post a bit about that later this year. 


But for now I’ve repainted and redecorated our guest bathroom. 


First it was a matter of stripping it down to the bare walls. Including taking down the horrible contractors special mirror you tend to find stuck to the walls in bathrooms. You know the kind I mean; no frame, same width as the vanity. They are super uninviting. 


As soon as I started edging I got a visit.


I wanted to see how high he would go. All the way was the answer, then he couldn’t figure out how to get down so I had to rescue him. 


There was one little spot above the toilet I couldn’t reach even with the ladder. It’s what I get for having 10′ ceilings. Luckily Mr. Smith is a foot taller than I. 


On to finishing touches 


All the stuff I hauled out had to go right back in.


The Beemer approved our new towels.  
And tah dah the bathroom isn’t so boring anymore 

As you can see the mirror isn’t hung yet, it’s just propped up. But that’s the advantage to having a husband that’s over 6′ I’ll just make him do it 😛 .

 And if your wondering about the title, yes this is our second bathroom redo (much easier than the first) and the second blue one. You can find the first by clicking here

Image

Hall of Frame 

Back when we visited our friends in North Carolina I got some vintage frames to add some artwork to this odd Hallway we have.


 I added some existing old frames I have to them just by giving them some funky paint jobs and decided I would hang them (mostly) empty like at our old house.

   
I’m not really sure why anyone needs this many frames but they sure do make me happy 


 I added decorative metal sheeting to a few of them to match the awesome barn door my father made for us. I’m going to paint the hall side of the frame of the door to match the frames next week.  

  
Some of the frames with the sheeting required silicon caulk to secure the metal but that was a super quick job. 

  
Some of the frames also got some map cutouts in them of places we’ve lived or been.

  
Lastly I repainted this big collage that has photos of Mr. Smith’s late mother. We had it set up at her celebration of life.

  
 In order to match it to the rest of the installation I just removed a few of the pictures and used a paper similar to our wall color to give the impression of empty frames and did a couple maps and a couple metal inserts as well. 

  
The hardest part of the whole process was the hanging bit. 

  
Oh there is that barn door I was talking about. 

Of course I had help, including help from the cat

  
But eventually it was done

  
And not too shabby if I do say so myself, you can see the barn door peeking out again here. 


Hopefully Mr. Smith likes it when he finally gets back from his business trip 


I even snuck our little silhouettes in. 

It was a relatively easy job to create a high impact space

Image

Progress update: 1 month 

It’s been exactly 1 month since we moved in and most everything is unpacked and furnished. I spent today hanging some pictures and getting a few things cleaned up So I figured I would give you a bit of a progress report while things were clean lol. 

   Our massive bookshelves are finally stocked with all of our books… Ok not all, there are a couple smaller shelves in other parts of the house.
   
  And the dining room is looking rather smashing as well. It’s just missing a mirror on that far wall, unfortunately I ran out of picture wire. 

Now that the china cabinet is in it (which I foolishly didn’t get a picture of) I’m debating whether the dining room “needs” a rug. Personally I think it might just make it busy, plus food stuffs in rugs; it is not fun. What do you guys think? 

We’ve also managed to get the daybeds in each office sorted out 


Now it’s just a matter of artwork, I think I’ll go with old botanical prints for my office (the green) and we will carry over the map theme we had in the other house for Mr. Smith. Some of the frames are already the right color. 

  
Hmmmmm I sense a honeymoon destination. 

  
The teal is going to have to have a quick repaint. 

Not too bad for a month’s work  when we started with a pretty darn empty house. 

Image

New Beginings

We started on a couple of new projects today. They are going to be in the works for a long time, mostly because we are still working on getting settled into our new house. 

One of them is this old mid-century modern dresser that was passed down to me from my great grand mother.

  
 We actually have the set but the dresser is going to be our new entertainment center, believe it or not.

I just removed a couple of the drawers that are a little worse for ware. 

  
See it’s better already,

Used a hole saw to cut a few holes for components in the backer board. Or let Mr. Smith do so, since hole saws terrify me after my father almost lost a finger to one. 

  
And voila 

  
I plan on painting the top, sides,  and bottom boards, as well as the vertical support in the middle. Then I’ll  refinish the drawer fronts and feet and stain them a darker wood color to match the other furniture in the house. Im still not sure what color I’ll paint the exterior. I might go with the same TARDIS blue the side table is. What do you think? 

I’ll save the other project we started on for a later post. It’s going to be quite a doosie in the long run. 

Image

Something New

I have been rummaging through my craft closet, trying to clean it out and trying to find some new things to try. 

  
When it comes to crafts I tend to impulse buy. This is whether I know what I’m going to do with something or not. So when I came across the mini canvases I got a while ago I figured it was about time I got out of my comfort zone and give it a whirl. 

I really had no idea what I was going to paint on them, or for that matter how to do it. I’ve only ever painted on canvas once before and that was in an instructed class. 

  
This is the fruits of that labor, it now happily hangs in my fancy new bathroom which you can see here.

But you know how people say “my three year old could do that” of any abstract painting they don’t really understand. I figure what’s the worst that could happen

  
I just started by blending some colors I liked together, then I got this notion that it might be easy to give it some texture with a brick pattern. 

  
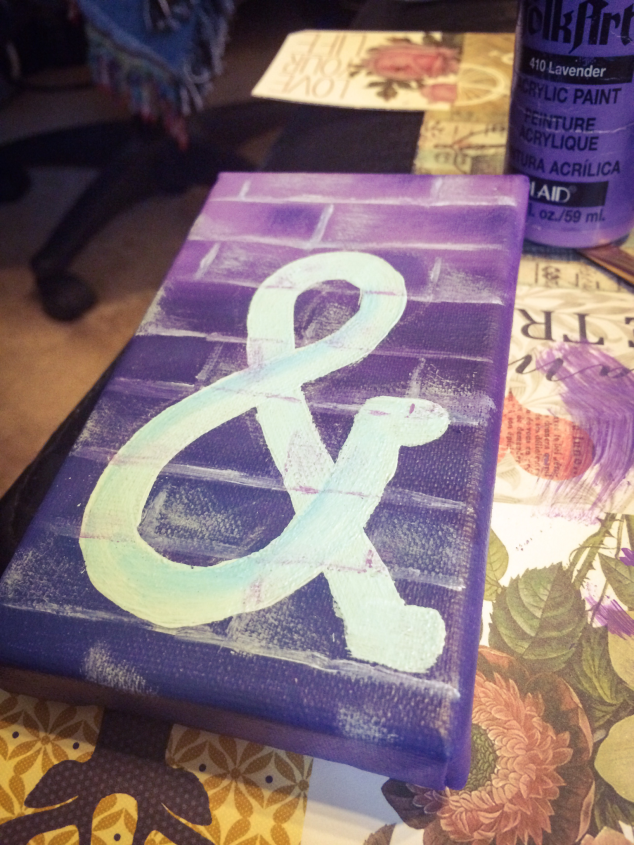
I found a little ampersand image and decided I could paint something like that… So I did… Or at least I tried. 

  
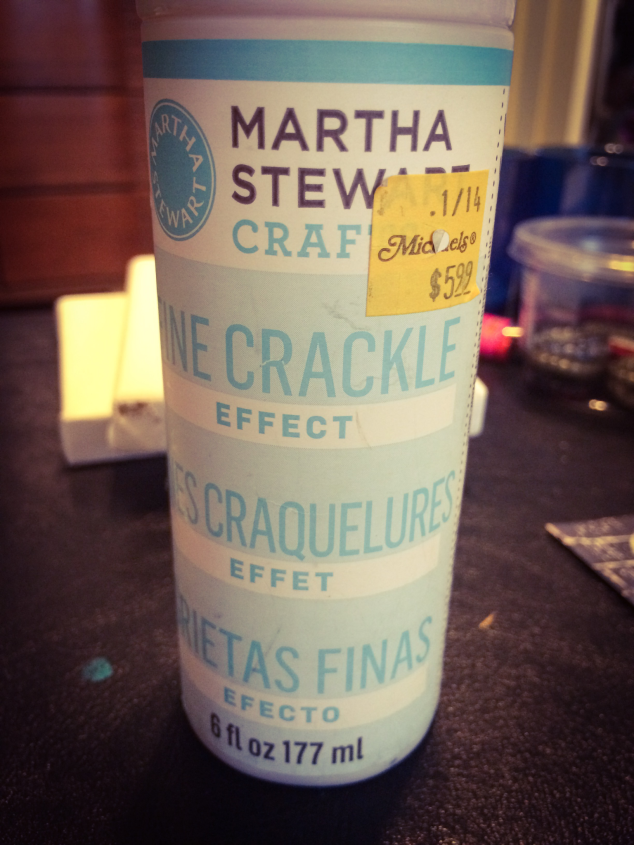
Then I realized I don’t have any kind of sealer or glazing medium, I don’t even know if I need such a thing. But I thought I would try this stuff instead. If nothing else it would give it more texture 

    
Or not… it just gave it a gloss. 


Two more mini canvases to go. This was the project of “suck it up, get it done, quit worrying about failing” it was rather cathartic in the end. 

I saw a saying about a house built with love

  
I decided I better build my house tentatively, so I sketched it out first. 

  
So I had love and an ampersand, what goes with love?

  
In this house that’s the only appropriate answer

  
After I did pretty good with the “house of love” (bow chika bow wow) I was kinda disappointed in my shenanigans (needs more malarkey) maybe I’ll redo it when I get more comfortable with this paint stuff. 

Really it turns out the painting part isn’t that hard it’s the inspiration part that bites, I don’t know what to paint or if I do I automatically think I’m completely incapable, so right now it’s baby steps. Oh and any inspiration would be greatly appreciated. 

Image

Bulls and Bears

No, I’m not in Chicago (Alas, I’m sure it’s much cooler there) But amidst all the things in my life I completely forgot to blog about a project I did a couple of months back for the office I work at.

This isn’t the first decorating project I’ve had the chance to do for the office and I’m sure it won’t be the last; if you want to see the others you can click here or here

  
I work at a financial planning office. It’s pretty awesome but it is lacking a little… Style. Luckily I’ve been given the go ahead to jazz it up a bit. We had a bunch of coasters from various places but no matching sets so I took the liberty of buying a little pack of blanks from the craft store and sanding them nice and smooth.

   
 Then I just doodled a little geometric design. I chose a bull and a bear since we work in stock portfolios (among a myriad of other things), used my scanner to enlarg it to the right size for the coaster then numbered each section to correspond with a paint color. In other words I made myself a paint by numbers, that way I wouldn’t end up with two like colors touching each other due to lack of planning. 

  
Then I taped the photocopied image onto the coaster and traced over the lines with the blunt edge of an exact-o knife

  
This left an etching of the image in the soft pine wood of the coaster. 

  
After that it was just a matter of painting each section like I had planned out. 

  
I had four coasters in total so to make each one different i flipped the images so the animals were facing opposite directions and also shuffled which numbers corresponded to which colors. 

  
After the paint was dried I then used a walnut stain over top. Stain over paint may sound kind of silly but on a thin coat of paint  it still pulls out the grain of the wood and gives the paint a distressed/vintage look.

   
 The final touch is just a quick clear coat to seal everything and protect it from sweating water glasses. 


Image

Keepsakes

I like to make artwork out of things that aren’t really “art” I suppose it’s a bit like scrap booking, I call it Keepsaking.


So along with the foreign money I arranged in frames I framed another little keepsake. I was cleaning out my purse not too long ago and I found a ticket stub from Cinderella. I wasn’t overly wowed by the recent live action iteration of Cinderella (fingers crossed for Beauty and The Beast) however it has a more sentimental value. That was the night my boyfriend (ok fine fiancé) proposed to me.


When I found the frame for my calendar (you can see that here) I also found this rather epic frame on clearance. So I decided to put my tiny ticket stub in it.

First I had to make a mat for it though

I just cut an old mat up as a template. Then I used some washi tape to jazz it up

And finished off the edge with ribbon

Then, Hey Presto! I got myself a little keepsake for my desk at work.

Not to mention absolutely no excuse to forget that particular anniversary.

Image

The Most Metal Bow! (queue guitar solo)

Have I ever mentioned how much I love target? I do. This time around in their amazing dollar bins they had some valentine’s goodies and marvelous crafty stuff, including a little grape vine wreath. I’ve mentioned the mesh monstrosities that dot doorways around the country don’t work for me, both aesthetically and due to the fact that birds like to roost in them. I figured once I spruced this up (the wreath form not the cat) it would be a nice alternative.

I simply started by wrapping a wide burlap ribbon around part of the wreath. My cat really wanted to help with this part of the project. Once I was done with the wrapping I tied a loop in the excess to give me something to hang the wreath from.

I then took some twine left over from Christmas and wrapped a small section opposite the ribbon. Once that was done I could remove the twine that held the wreath together.

Then I placed my galvanized initial in the middle. I originally purchased my little S for just such a project but then it just looked so cute on my desk it just fell by the way side. I also used some metal ribbon to create a bow for the top of the wreath. I didn’t document this in pictures because it was hard enough not cutting my fingers off while focusing on the task at hand let alone trying to multitask. Essentially I pieced it together with one part being the two curves of the bow, one being the center knot pinched around the bow and two more pieces tucked into the pinch to act as tails. I also used a rasp to file down some of the sharp edges created when I cut the metal.

After that it was just a matter of embellishing. I used some ribbon flowers that I turned into broaches, a key, buttons, I even used some of the gears that came out of my mutilated clock come lantern.

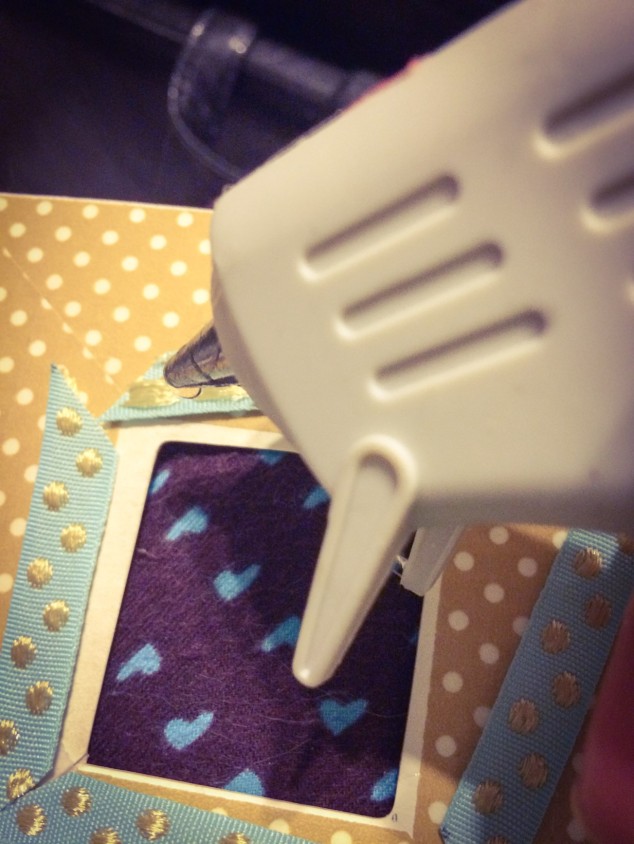
I even found a length of old brass chain that I wrapped around and secured with liberal amounts of hot glue.

I did encounter one hiccup. The wreath liked to bang on the door in strong wind or when opening and closing the door, but a strong magnet stuck to the back of the wreath solved that thanks to having a steel front door.

All in all not bad for a cobbled together project using a $3 grape vine wreath and things that I had lying around. It ended up surprisingly steam punk.

IMG_2326

Yes it was crooked when I took the picture, yes I fixed it.

Image

The Adventures of Fox & Robot

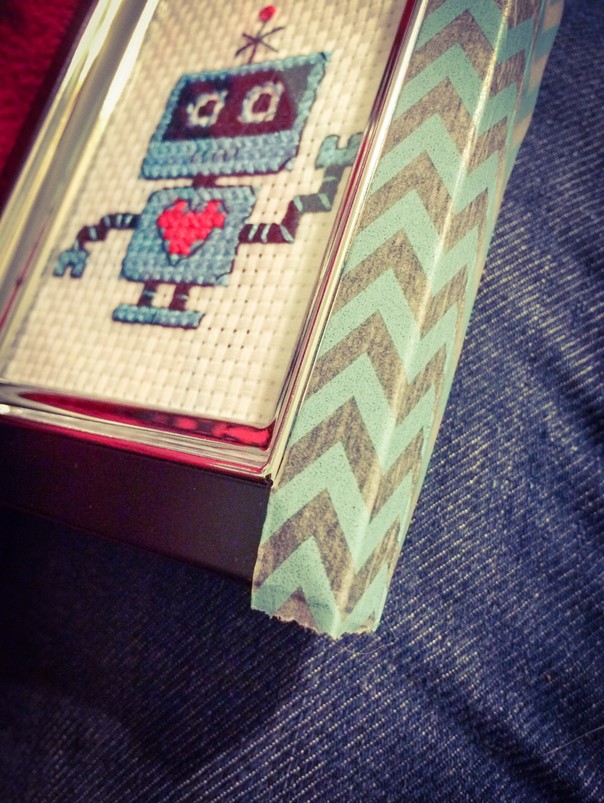
You know how I did a cross stitch of a little robot a while back. It was the first time I had done cross stitch in a long time. Well I inadvertently created a monster.

Ok so this isn’t actually a monster it’s just the back of my cross stitch,

As you can see I’m not very good at keeping things tidy yet.

What could I possibly do next that wasn’t all granny-ish?

Hearts are not going to cut it.

Cute modern woodland creatures though. That is completely up my alley.

Next step is finding a home for my little creations. The fox was easy.

The robot’s home was a bit boring though.

Nothing washi tape can’t fix.

Seriously if duct tape doesn’t fix it, washi tape will at least make it look good.

When I got to a corner I just used an exact-o knife to cut where the miter is and pull off the scrap.

You could be overly OCD about it and make the stripes line up perfectly, but I can’t be bothered. As long as they are all going the same way my brain seems to be happy.

Then tah-dah! A frame befitting the countenance of a Robot of such grandeur.

My boyfriend has claimed them both for his desk at work. I’ve demanded weekly updates on their amazing adventures in the tech world.